Getting a Rails application running on a remote server involves a fair bit of setup. Recently, I’ve had to go through the process a couple of times—provisioning a virtual machine, installing and configuring Apache, MySQL, Ruby, and Rails, and finally deploying the app. To make future deployments easier (and to have something to refer back to), I decided to document the steps.
In this tutorial, I’ll walk through how to deploy a Rails application (the one built in this guide) to a virtual private server running Ubuntu. In my case, I’m using a VirtualBox VM, but the same instructions apply to any internet-accessible server that supports SSH. The goal is to get the app up and running and accessible over the web.
Let’s begin.
Server Setup Prerequisites
To follow along with this tutorial, you’ll need access to a machine running an Ubuntu-based system (I’m using Ubuntu Server 24.04) with SSH enabled. I’ll be working with a VirtualBox VM, but the same steps apply to any server you can SSH into—whether that’s a DigitalOcean droplet or something else entirely.
If you need help setting up a VirtualBox instance, I’ve written a separate tutorial that covers the full process, including how to enable SSH access. You can find it here. This guide assumes that your server is already configured and accessible via SSH.
For reference, I’ve started VirtualBox in headless mode as described in that tutorial, and I’ve SSHed into the server using a key I previously copied over. Here’s what that looks like in my terminal:
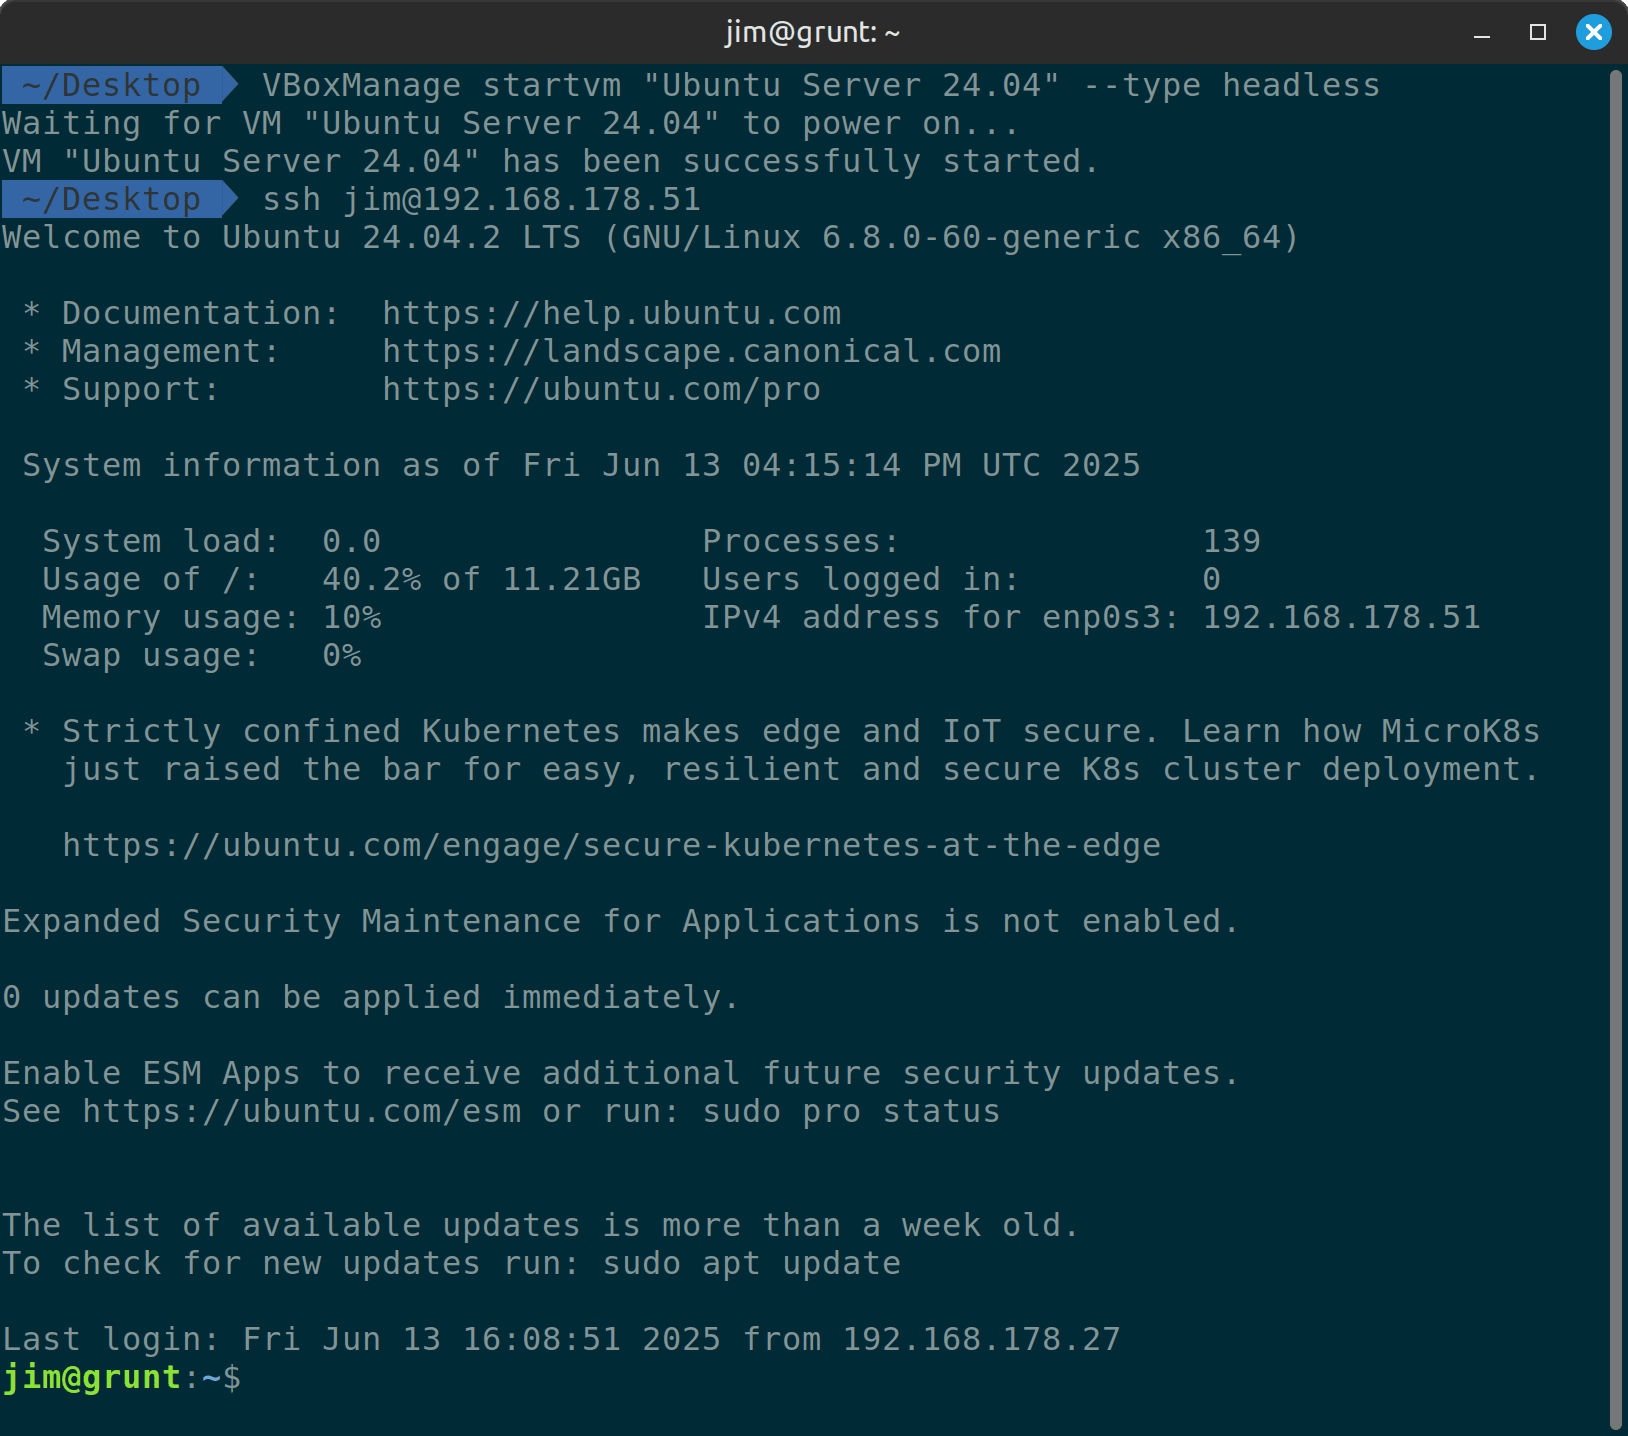
Unless stated otherwise, all commands in this tutorial are to be run on the server.
In addition to the above, you’ll also need a GitHub account and a Unix-like environment to run commands such as scp. If you’re on Windows, the Windows Subsystem for Linux (WSL) is a great option.
But Why Not Kamal or Docker?
Before we dive in, a quick word about Kamal. It’s the official deployment tool for Rails, backed by 37signals and built on Docker. It’s a great fit for apps that need more infrastructure—things like scaling, orchestration, remote builds, and zero-downtime deploys.
That said, it’s not what I’m using here. I already had this VPS setup in place, and it works. I know how to manage it, and if something goes wrong, I can SSH in and fix it. Docker adds a level of abstraction that I don’t find helpful for small, self-hosted apps. Kamal simplifies a lot, but it still depends on a containerization workflow that feels heavier than necessary for my needs.
If you’re curious about Kamal, there are plenty of tutorials online. But if you’d rather stick to a more traditional setup, keep reading—we’ll get your app deployed without any containers.
Installing the LAMP Stack
Before we can run our Rails app, we need a working web server and database. The easiest way to get there on Ubuntu is by installing the LAMP stack—short for Linux, Apache, MySQL, and PHP. While Rails doesn’t need PHP, the lamp-server^ meta-package pulls in Apache and MySQL along with some useful defaults, and it’s a quick way to get a web server and database up and running.
To install it, run:
sudo apt install lamp-server^
The caret (^) at the end tells apt to install the full task as defined by Ubuntu’s tasksel system, not just a single package. This installs Apache, MySQL, PHP, and various modules.
Enabling Password Access for MySQL
By default, MySQL on modern Ubuntu versions uses socket-based authentication for the root user. But Rails expects password-based access when connecting via a database.yml file. To fix this, run the following:
sudo mysql
ALTER USER 'root'@'localhost' IDENTIFIED WITH mysql_native_password BY 'password';
FLUSH PRIVILEGES;
EXIT;
This switches the root user back to traditional password-based login using mysql_native_password, sets the password to “password” (you should change this to your actual password), and reloads the permissions.
To confirm the stack installed correctly, check the versions like so:
jim@grunt:~$ apache2 -v
Server version: Apache/2.4.58 (Ubuntu)
Server built:   2025-04-03T14:36:49

jim@grunt:~$ mysql --version
mysql  Ver 8.0.42-0ubuntu0.24.04.1 for Linux on x86_64 ((Ubuntu))

jim@grunt:~$ php -v
PHP 8.3.6 (cli) (built: Mar 19 2025 10:08:38) (NTS)
Copyright (c) The PHP Group
Zend Engine v4.3.6, Copyright (c) Zend Technologies
    with Zend OPcache v8.3.6, Copyright (c), by Zend Technologies
This gives us a complete, ready-to-use web server and database setup with minimal effort.
Securing MySQL
Once MySQL is installed, it’s a good idea to run the built-in security script to harden the setup:
sudo mysql_secure_installation
When prompted, I answered as follows, but feel free to tailor this to your needs:
- Set up VALIDATE PASSWORD plugin? — No
- Change the root password? — No (we already did this earlier)
- Remove anonymous users? — Yes
- Disallow root login remotely? — Yes
- Remove test database and access to it? — Yes
- Reload privilege tables now? — Yes
This strips out a few defaults that aren’t needed and helps lock things down a bit.
Installing phpMyAdmin
Although not strictly necessary, I find it helpful to have a web interface for inspecting and managing the database. To install phpMyAdmin, run:
sudo apt install phpmyadmin
When prompted:
- Choose apache2 as the web server to configure automatically
- Select Yes to configure the database with
dbconfig-common - When asked for the MySQL application password for phpmyadmin, you can either set a password or leave it blank. Leaving it blank will generate a random password for the internal
phpmyadminMySQL user, which is fine for most setups—you’ll still log in to phpMyAdmin using your regular MySQL user credentials (e.g.root).
When installing phpMyAdmin, the package installer will present a series of screens in a text-based interface. You can use the arrow keys or the Tab key to move between options (e.g. between Apache2, lighttpd, and the <OK> button). Press Space to toggle selections on or off, and Enter to confirm your choices and continue.
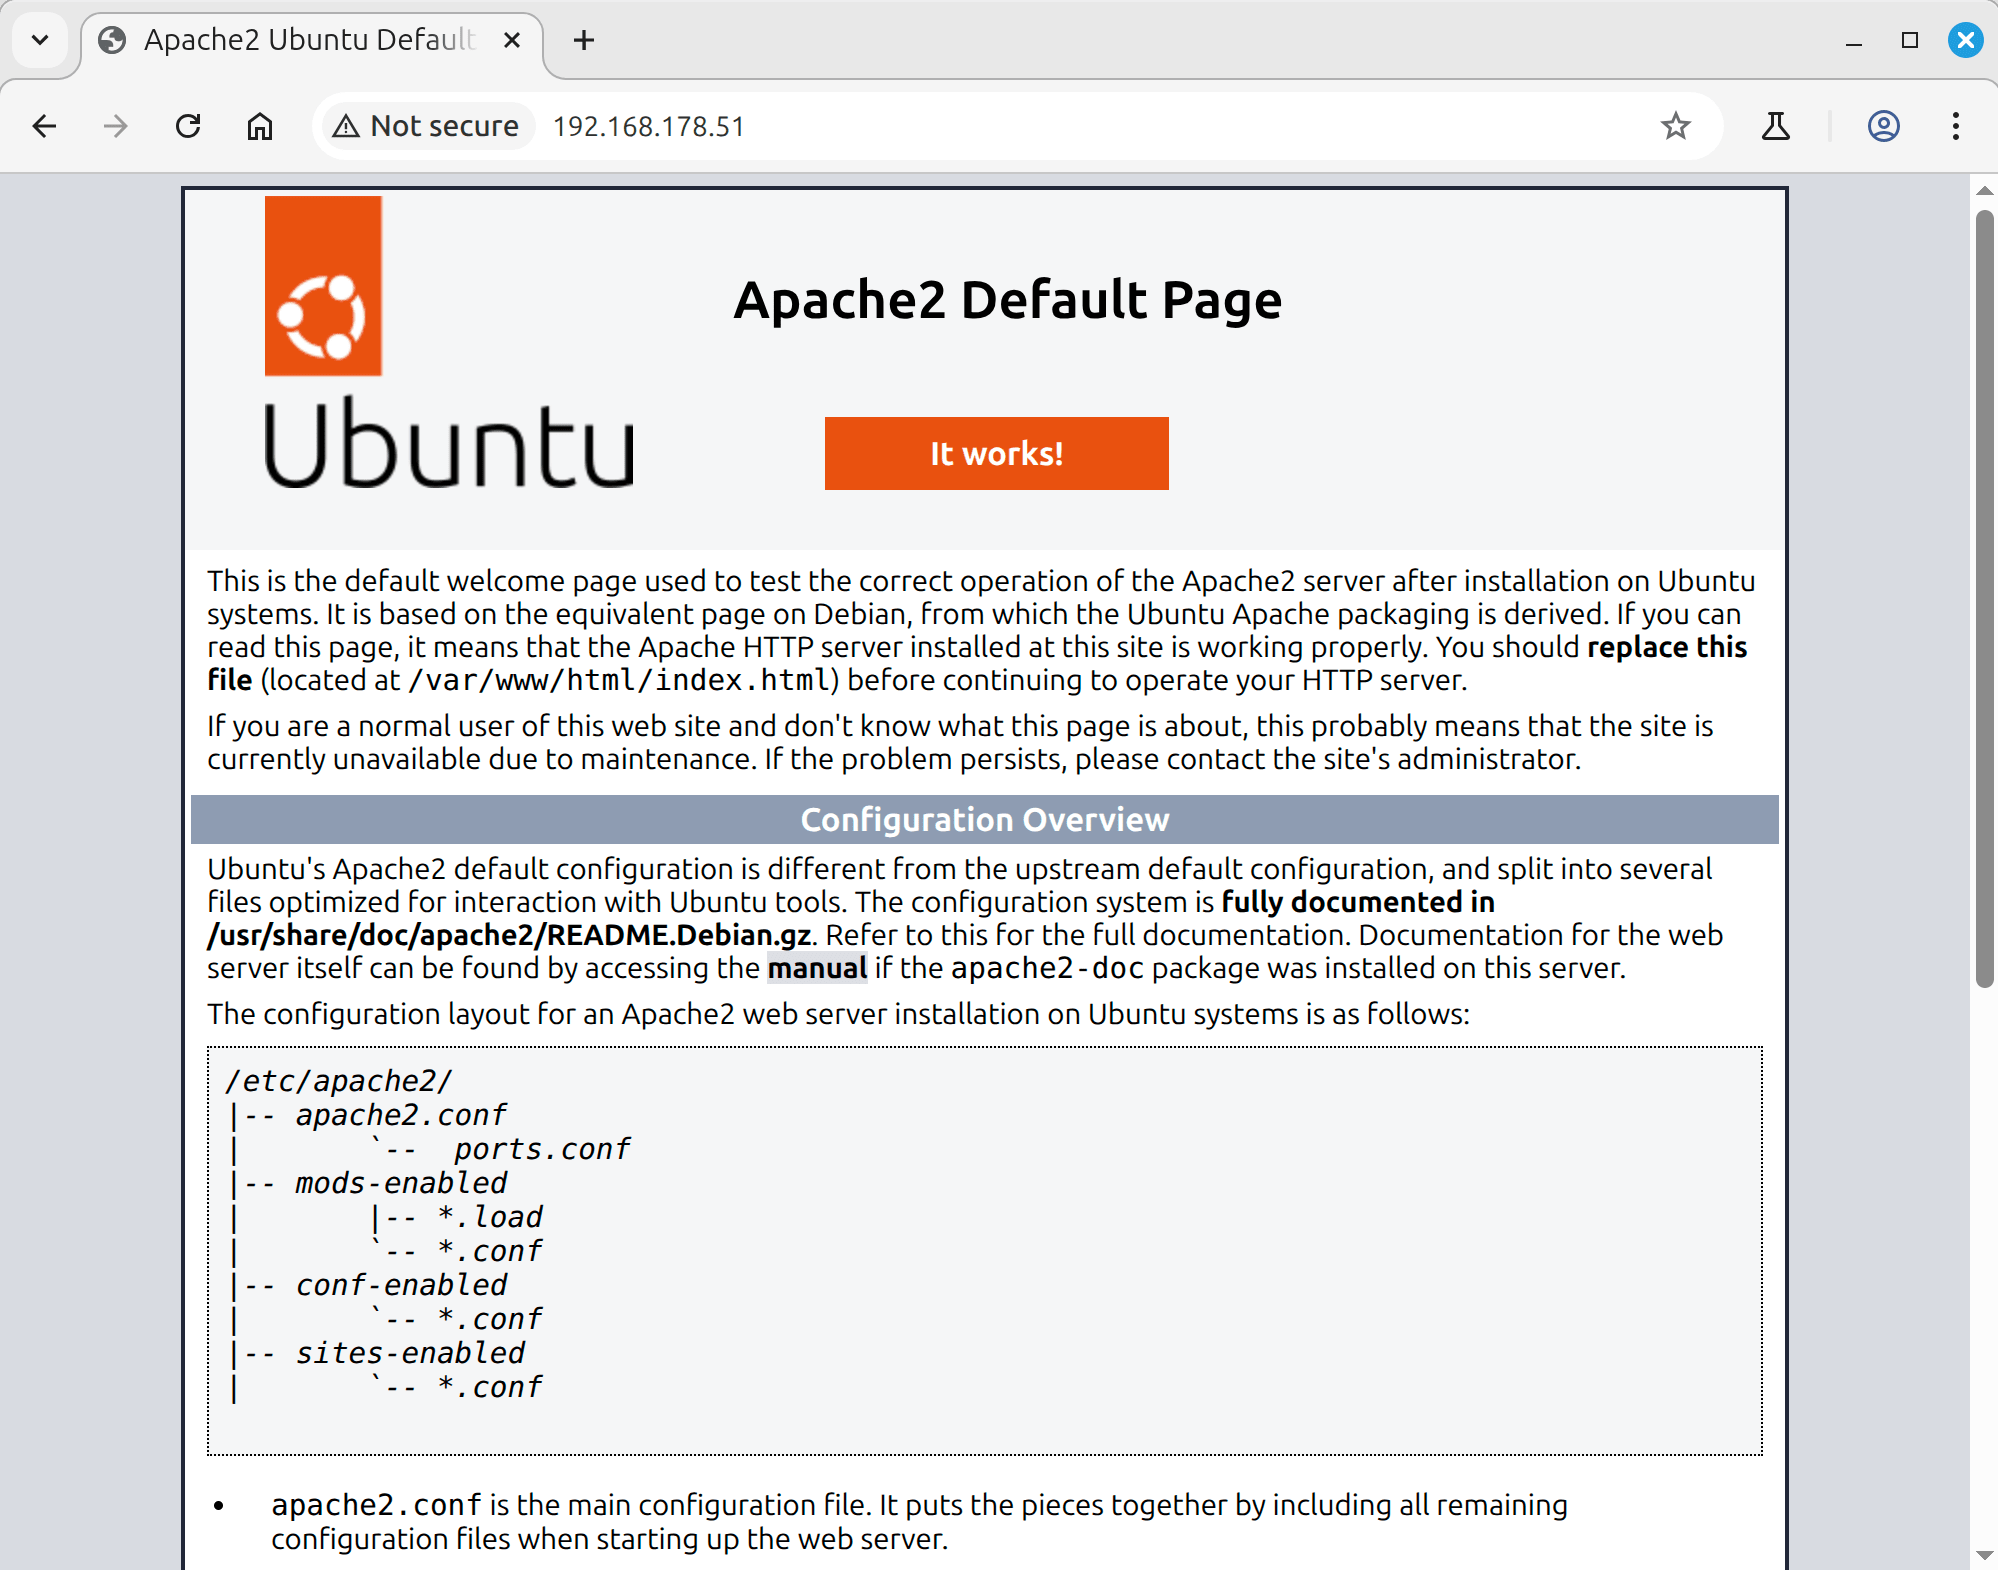
Once the installation is complete, visiting http://your-server-ip/ in a browser will show the Apache2 default page, confirming that Apache is running correctly. To access phpMyAdmin, go to http://your-server-ip/phpmyadmin.
To log in, use the root MySQL user and the password you configured earlier.
Install Git, rbenv, and Ruby
Git is already installed by default on Ubuntu Server 24.04. To confirm this, run:
git -v
If it’s not installed, you can add it with:
sudo apt install git
Either way, it’s a good idea to set your global Git config:
git config --global color.ui true
git config --global user.name "Your Name"
git config --global user.email "you@example.com"
To manage Ruby versions, we’ll use rbenv. It allows you to install and switch between different versions of Ruby on a per-user basis—ideal for avoiding version conflicts.
Start by cloning the rbenv repository and initializing it:
git clone https://github.com/rbenv/rbenv.git ~/.rbenv
~/.rbenv/bin/rbenv init
source ~/.bashrc
type rbenv
If the installation was successful, that final command should output:
rbenv is a function
Then install the ruby-build plugin to enable installing Ruby versions:
git clone https://github.com/rbenv/ruby-build.git "$(rbenv root)"/plugins/ruby-build
Install the required libraries for building Ruby:
sudo apt install build-essential libffi-dev libmysqlclient-dev libreadline-dev libssh-dev libssl-dev libyaml-dev zlib1g-dev
Now install Ruby 3.4.4 and set it as the global default:
rbenv install 3.4.4
rbenv global 3.4.4
Depending on how much RAM your server has, this might take a while to run. When it has, check that Ruby is installed correctly:
ruby -v
# ruby 3.4.4 (2025-05-14 revision a38531fd3f) +PRISM [x86_64-linux]
Install JavaScript Runtime (Optional)
As of Rails 8, you no longer need a JavaScript runtime if you’re using import maps, which are now the default. This setup loads JavaScript directly in the browser, without requiring Node.js, NPM, or a bundler.
However, if you’re planning to use a bundler like Vite or esbuild, you’ll still need Node.js to compile assets. We won’t be using Vite in this tutorial, but here’s how to install Node anyway—just in case your app setup requires it.
The easiest way to manage Node versions is with nvm the Node Version Manager. It allows you to install and switch between Node.js versions easily, much like rbenv does for Ruby.
To install and configure nvm:
curl -o- https://raw.githubusercontent.com/nvm-sh/nvm/v0.40.3/install.sh | bash
source ~/.bashrc
Then install the latest LTS version of Node.js and set it as default:
nvm install --lts
nvm alias default lts/*
Verify the installation:
node -v
# v22.16.0
With Ruby and Node in place, the system is now ready for Rails.
Install and Configure Passenger
To serve a Rails app through Apache, we’ll use Passenger—an application server that integrates directly with Apache and makes deploying Ruby apps much simpler. Passenger handles process management and routes incoming web traffic to the Rails app behind the scenes.
We’ll follow the official installation instructions for Ubuntu 24.04 (“Noble”).
First, add the Passenger APT repository and install the module:
sudo apt install -y dirmngr gnupg apt-transport-https ca-certificates curl
curl https://oss-binaries.phusionpassenger.com/auto-software-signing-gpg-key.txt | gpg --dearmor | sudo tee /etc/apt/trusted.gpg.d/phusion.gpg >/dev/null
sudo sh -c 'echo deb https://oss-binaries.phusionpassenger.com/apt/passenger noble main > /etc/apt/sources.list.d/passenger.list'
sudo apt update
sudo apt install libapache2-mod-passenger
Once Passenger is installed, we need to tell it to use the correct Ruby version (the one installed via rbenv):
sudo nano /etc/apache2/mods-enabled/passenger.conf
Find this line:
PassengerDefaultRuby /usr/bin/passenger_free_ruby
…and replace it with this:
PassengerDefaultRuby /home/jim/.rbenv/shims/ruby
💡 Adjust the path to match your actual user and environment.
A Quick Note on Nano
When you run a command like sudo nano /etc/apache2/mods-enabled/passenger.conf, it opens the file in nano, a simple terminal-based text editor that comes preinstalled on most Linux systems.
Nano displays the contents of the file in the main area, with a helpful list of shortcuts at the bottom of the screen. You can move around using the arrow keys.
To save and exit:
- Press Ctrl + X to begin exiting
- Press Y when prompted to save changes
- Press Return to confirm the file name
If you’re unfamiliar or get stuck, this short guide provides a handy reference. But don’t worry—nano is beginner-friendly and hard to mess up.
Enable the Module and Restart Apache
Now enable the Passenger module and restart Apache:
sudo a2enmod passenger
sudo apache2ctl restart
If you see a warning like:
Could not reliably determine the server's fully qualified domain name
edit the Apache config:
sudo nano /etc/apache2/apache2.conf
…and add this to the bottom:
ServerName localhost
Then restart Apache again.
Verify the Installation
To confirm everything installed correctly, run:
sudo /usr/bin/passenger-config validate-install
This will open an interactive menu asking what you’d like to validate. Use the arrow keys to move up and down, Space to select “Passenger itself” and Enter to proceed.
You should see output ending with:
Everything looks good. :-)
This indicates that Passenger is correctly installed and ready to go.
Next, check if Passenger’s core processes are running:
sudo /usr/sbin/passenger-memory-stats
You should see Apache processes as well as Passenger processes. For example:
Version: 6.0.27
Date   : 2025-06-13 20:49:28 +0000

---------- Apache processes ----------
PID    PPID   VMSize    Private  Name
--------------------------------------
42450  1      290.5 MB  2.7 MB   /usr/sbin/apache2 -k start
...

----- Passenger processes -----
PID    VMSize    Private  Name
-------------------------------
42690  358.7 MB  2.4 MB   Passenger watchdog
42694  977.2 MB  3.9 MB   Passenger core
...
Finally, check that Passenger itself is responsive:
sudo passenger-status
You should see output similar to:
jim@grunt:~$ sudo passenger-status
Version : 6.0.27
Date    : 2025-06-13 20:51:45 +0000
Instance: JtJFm3v1 (Apache/2.4.58 (Ubuntu) Phusion_Passenger/6.0.27)

----------- General information -----------
Max pool size : 6
App groups    : 0
Processes     : 0
Requests in top-level queue : 0

----------- Application groups -----------
All of this confirms that Apache and Passenger are working together and ready to serve your Rails application.
Set Up an Apache Virtual Host
To serve your Rails app, we’ll define a virtual host—a block of configuration that tells Apache where your app lives and how to handle requests to it.
Within this block, the ServerName directive tells Apache which requests should be routed to this site. If you’re accessing the server by IP address, ServerName can be anything you like—Apache will simply use the first matching config. But if you’re using a hostname (like app.mycompany.com), then that name must match what appears in your browser and be resolvable—either via DNS or your system’s /etc/hosts file.
For this tutorial, we’ll set the host name to devise.local as it reflects the functionality of the Rails app we’re deploying. You can change this to anything you like—just be sure it matches your access method. The folder path /var/www/devise-demo/current/public should remain structured as shown, but the devise-demo portion can be renamed to suit your project.
Configure the Site
First, create the folder structure Apache will use:
sudo mkdir -p /var/www/devise-demo
sudo chown -R jim:www-data /var/www/devise-demo
sudo chmod -R 775 /var/www/devise-demo
This sets up the directory for your deployed Rails app. You can change devise-demo to suit your project name, and replace jim with your actual system username.
Next, create a new site definition file:
sudo nano /etc/apache2/sites-available/devise.local.conf
Add the following:
<VirtualHost *:80>
  ServerName devise.local
  DocumentRoot /var/www/devise-demo/current/public

  <Directory /var/www/devise-demo/current/public>
    AllowOverride all
    Options -MultiViews
    Require all granted
  </Directory>

  <Location /phpmyadmin>
    PassengerEnabled off
  </Location>
</VirtualHost>
Once the site configuration is in place, you need to tell Apache to use it:
sudo a2ensite devise.local.conf
This command enables the devise.local.conf virtual host by creating a symlink in /etc/apache2/sites-enabled/. Apache will now consider this configuration when handling incoming requests.
Next, disable the default site:
sudo a2dissite 000-default.conf
Apache ships with a default site configuration (000-default.conf) that catches all requests not matched by another config. Disabling it ensures your new virtual host (devise.local.conf) takes precedence and avoids any unexpected routing issues.
Finally, reload Apache to apply the changes:
sudo systemctl reload apache2
This gracefully restarts Apache, reloading the configuration without interrupting existing connections. After this, your server will respond to requests for devise.local as defined in your new virtual host.
Add Hostname Resolution (On the Host Machine)
💡 This step is only necessary if you’re running a local VirtualBox VM and want a readable hostname instead of using the raw IP. If you’re deploying to a remote server, you can skip this and use the actual IP or domain name directly.
To make devise.local resolve to your guest VM, edit your host’s /etc/hosts file:
sudo nano /etc/hosts
Add a line like:
192.168.178.51 devise.local
Replace 192.168.178.51 with the IP address of your VirtualBox guest.
Now, visiting http://devise.local in your browser should connect to the server, but you’ll likely see a 404 Not Found error for now—that’s because we haven’t deployed the Rails app yet. Apache is already configured to serve it, and we’ll upload the app shortly.
Create the Production Databases
Rails 8 introduces four logical databases in production by default: primary, cache, queue, and cable (see: discuss.rubyonrails.org). These correspond to the entries in your config/database.yml. Even if you’re not actively using cache, queue, or cable features, Rails will expect them to exist—or throw errors.
To satisfy that, you’ll need to create all four production databases and grant access to a single MySQL user.
Run:
mysql -uroot -p
Then execute:
CREATE DATABASE store_production;
CREATE DATABASE store_production_cache;
CREATE DATABASE store_production_queue;
CREATE DATABASE store_production_cable;
This setup ensures all of Rails 8’s expected database connections exist. In future iterations—especially for production-scale apps—you may choose to consolidate some of these (e.g. using a single DB for cache/queue) or isolate them entirely via environment-specific deploys or host-based separation. But for now, this covers the out-of-the-box structure of Rails 8.
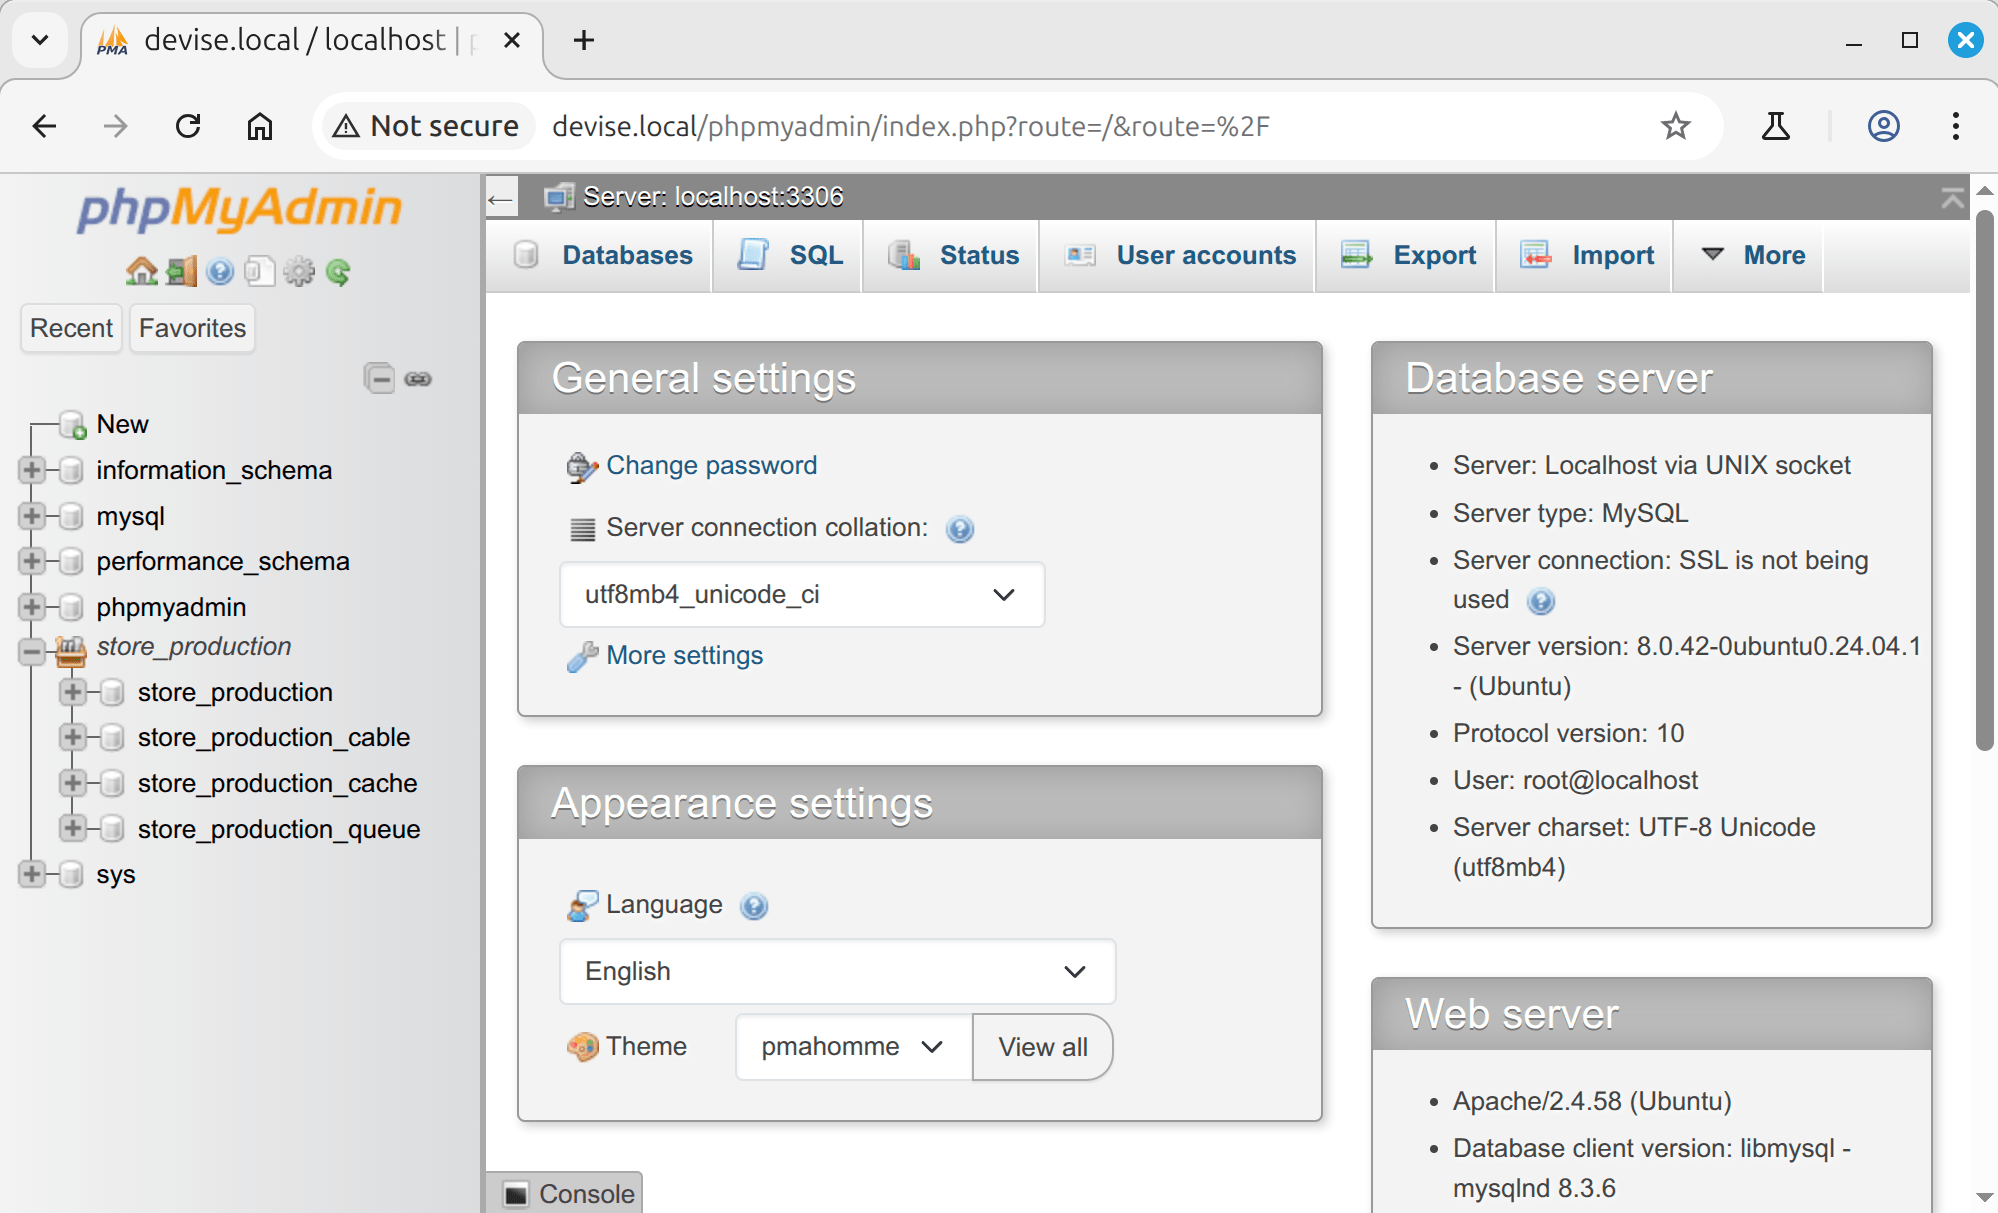
If you visit http://devise.local/phpmyadmin/, log in as the MySQL root user, and navigate to the databases tab, you should see all four databases listed as expected.
Deploy the App Using Capistrano
Before we can deploy our Rails app to a remote server, we need a reliable way to automate the process. This is where Capistrano comes in.
What is Capistrano?
Capistrano is a remote server automation and deployment tool written in Ruby. It connects to your server via SSH, clones your code from a Git repository, runs deployment scripts, and sets up the app directory structure. This means that instead of uploading files manually or copying things over with scp, you can deploy your app with a single command.
It also supports things like rollbacks, restarting services, and running database migrations remotely. It’s a mature, battle-tested tool, widely used in the Rails ecosystem.
What We’ll Be Using
For this tutorial, we’ll be deploying a Rails app that uses Devise for authentication and CanCanCan for authorization.
The source code is available on GitHub at github.com/jameshibbard/authentication-with-devise-and-cancancan, and we’ll be working from the mysql branch. As the name suggests, this version of the app is configured to use MySQL.
If you’d like to see how the app was built, there’s a full walkthrough available on my website.
Rather than deploying from my repository (which you can’t push to), you’ll fork it to your own GitHub account—giving you full control and the ability to configure and deploy the app yourself.
The following steps (1–6) should all be carried out on your local machine.
1. Fork the Repository
Make sure you’re signed into your GitHub account, then:
- Visit https://github.com/jameshibbard/authentication-with-devise-and-cancancan
- Click the Fork button in the top menu bar
- Choose your GitHub account
Next, ensure you have an SSH key set up with GitHub. This is required for Capistrano to deploy your app. If you haven’t already done so, follow GitHub’s official guide: Adding a new SSH key to your GitHub account
Once set up, clone your new repository using the SSH URL:
git clone git@github.com:<your-username>/authentication-with-devise-and-cancancan.git devise-demo
cd devise-demo
git checkout -b mysql origin/mysql
💡 Replace
<your-username>with your actual GitHub username.
You now have a local copy of the repo configured to use MySQL.
2. Check GitHub Access (Optional)
To confirm that Capistrano will be able to pull your code, you can run:
git ls-remote git@github.com:<your-username>/authentication-with-devise-and-cancancan.git
If it lists a set of HEAD and refs, you’re good to go.
3. Add Capistrano to the App
To deploy the app, we’ll now integrate Capistrano into the project.
First, open the Gemfile and add the following gems inside the :development group:
group :development do
  gem 'capistrano', require: false
  gem 'capistrano-rails', require: false
  gem 'capistrano-passenger', require: false
  gem 'capistrano-bundler', require: false
  gem 'capistrano-rbenv', require: false
end
Then run:
bundle install
This installs the Capistrano tooling needed for Rails deployments, as well as plugins to handle Bundler, rbenv, Passenger, and Rails-specific tasks like asset precompilation and database migration.
4. Initialize Capistrano
Now initialize Capistrano in your Rails app:
cap install
This generates a Capfile in the project root, along with configuration files located at config/deploy.rb, config/deploy/staging.rb and config/deploy/production.rb.
💡 If this command fails due to a version mismatch or “command not found” error, prepending
bundle execcan resolve the issue:bundle exec cap installThis guarantees you’re running the Capistrano version defined in your project, and avoids conflicts.
Next, open the Capfile and alter it like so:
# Load DSL and set up stages
require 'capistrano/setup'

# Include default deployment tasks
require 'capistrano/deploy'

# Use Git for source control
require 'capistrano/scm/git'
install_plugin Capistrano::SCM::Git

# Load standard Capistrano integrations
require 'capistrano/rails'
require 'capistrano/passenger'
require 'capistrano/rbenv'

# Load custom tasks from `lib/capistrano/tasks` if you have any defined
Dir.glob('lib/capistrano/tasks/*.rake').each { |r| import r }
This section loads the plugins Capistrano needs to work with our setup. The Git SCM plugin enables Capistrano to fetch the code from GitHub, while the Rails and Passenger plugins add tasks for database migrations, asset compilation, and restarting the app.
5. Configure Your Deploy Settings
Next, open config/deploy.rb and update the key settings that tell Capistrano how and where to deploy your app. This includes your app name, GitHub repo, deployment directory, and some shared resources that should persist across releases.
Here are the key settings you’ll want to define.
lock "~> 3.19.2"

set :application, "devise-demo"
set :repo_url, "git@github.com:<your-username>/authentication-with-devise-and-cancancan.git"
set :branch, "mysql"

# Default deploy_to directory is /var/www/my_app_name
set :deploy_to, "/var/www/devise-demo"

# Default value for :linked_files is []
append :linked_files, "config/database.yml", "config/credentials.yml.enc"

# Default value for linked_dirs is []
append :linked_dirs, "log", "tmp/pids", "tmp/cache", "tmp/sockets", "public/system"

# Default value for keep_releases is 5
set :keep_releases, 5

# Specify your Ruby version and rbenv type
set :rbenv_type, :user
set :rbenv_ruby, '3.4.4'
💡 Replace
<your-username>with your GitHub username.
The linked_files section ensures that sensitive files like database.yml and credentials.yml.enc remain shared across deployments. The linked_dirs setting keeps folders like logs and uploaded files intact between releases. And finally, specifying your Ruby version ensures the correct environment is used on the server.
If you’re curious, Capistrano includes a number of other optional settings as comments in this file—feel free to explore or customize them as needed.
Next, open config/deploy/production.rb and define the production server:
server "devise.local", user: "jim", roles: %w{app db web}
Replace "devise.local" with your server’s domain name or IP address—just make sure it resolves correctly (e.g. via DNS or your /etc/hosts file). Also replace "jim" with your actual SSH username.
The roles tell Capistrano what responsibilities this server has. In our case, it’s handling the application code (app), the database (db), and web requests (web), all on one box.
6. Verify the Setup
To confirm everything is wired up correctly, run the following command from the root of your Rails project:
cap production doctor
This performs a dry run and checks whether Capistrano can access your server, pull your code from GitHub, and apply the deployment settings. If everything is configured properly, you’ll see output broken into several sections:
- Environment – Displays your Ruby version, Rubygems, and the Capistrano command path.
- Gems – Lists the Capistrano-related gems detected in your project.
- Variables – Shows the values of all relevant deployment settings.
- Servers – Confirms which server(s) are defined and the roles assigned.
If all of that appears and no errors are thrown, then your deployment setup is ready to go.
Prepare the Server for Deployment
Before Capistrano can successfully deploy the app, we need to create a few files it expects to find in the shared directory on the remote server.
SSH into the production machine and prepare the necessary structure:
sudo mkdir -p /var/www/devise-demo/shared/config
sudo chown -R jim:www-data /var/www/devise-demo
This sets the ownership of the /var/www/devise-demo directory so that your user (jim) owns the files and the group is www-data, which allows the web server to access them.
Don’t forget to replace jim and devise-demo with your actual Linux username and project name to match your server’s setup.
Add database.yml
Capistrano will symlink database.yml from the shared config directory. Create it like so:
nano /var/www/devise-demo/shared/config/database.yml
Paste in the complete database.yml you are already using locally, including the production: section with the primary, cache, queue, and cable databases.
Notice that we are using Rails.application.credentials to fetch the database username and password—this keeps sensitive data out of source control. We’ll define those credentials next.
Define Your Rails Master Key and Encrypted Credentials
Your Rails app relies on config/master.key to decrypt config/credentials.yml.enc, where sensitive data like your secret_key_base and database credentials are stored securely.
If you cloned the repo and both config/master.key and config/credentials.yml.enc are missing (which they will be), you’ll need to generate fresh ones.
Run this command locally in the cloned repo:
EDITOR=nano bin/rails credentials:edit
This will:
- Create a new
config/master.key - Create (or overwrite)
config/credentials.yml.enc - Decrypt
credentials.yml.encand open it in nano - Auto-populate it with a new
secret_key_base
💡 You can specify a different editor by setting the
EDITORenvironment variable. For example, useEDITOR=sublto open the file in Sublime Text.
While editing this file, add your production database credentials:
production:
  database_user: your-user
  database_password: your-password-here
Replace your-user and your-password with your actual MySQL user and password. If you have been following along with the tutorial, the MySQL user will be root.
As these files contain sensitive information, you should be sure to keep the key out of the repo. Check that your .gitignore (located in the procject root) includes:
/config/master.key
And add it if it doesn’t.
Upload Encrypted Credentials to the Server
Once you’ve added your production database credentials locally, you’ll need to upload the encrypted credentials file so Rails can access it during deployment.
From your project root (on your local machine), run:
scp config/credentials.yml.enc your-user@your-server-ip:/var/www/devise-demo/shared/config/
💡 Replace your-user and your-server-ip with your actual SSH username and server address.
If you don’t have the scp command available (e.g. on Windows), you can use WinSCP to upload the file via a graphical interface.
Provide Rails with the Master Key
Rails needs the master.key to decrypt the credentials. The recommended approach is to set it as an environment variable on the server.
Open your shell config (e.g. ~/.bashrc):
nano ~/.bashrc
At the very top of the file, add the following line (replacing your-masterkey):
export RAILS_MASTER_KEY="your-masterkey"
⚠️ Place this at the very top, or it may be ignored.
Save and close the file, then apply the changes:
source ~/.bashrc
To check that this set correctly across sessions, log out of the server and log back in. Then run:
printenv | grep RAILS_MASTER_KEY
Optional: Upload master.key Instead
If the environment variable approach doesn’t work—Capistrano can be finicky—you can instead upload the master.key directly.
On your local machine run:
scp config/master.key your-user@your-server-ip:/var/www/devise-demo/shared/config/
Ensure your deploy.rb includes the following:
append :linked_files, "config/database.yml", "config/credentials.yml.enc", "config/master.key"
And ensure that you have removed the environment variable from your shell config.
Both methods are valid, but the envv ar approach is preferred, as it avoids potential symlink or permissions issues during deploys.
Run the First Deploy
Now that everything is set up, it’s time to do the exciting bit—let’s get the app live!
First commit your changes and push them to GitHub.
git add --all
git commit -m "Added capistrano"
git push origin mysql
Then from your project root, run:
cap production deploy
This kicks off the Capistrano deploy process. You should see it stepping through various tasks—checking versions, uploading files, compiling assets, and restarting the app. Be aware that on the first deploy this might take a while.
Here’s a peek at what the output might look like:

If all goes well, your app is now live on the server.
Open your browser and head to http://devise.local (or whatever your server name is in your /etc/hosts file). If everything worked, you should see your shiny new Rails app up and running.
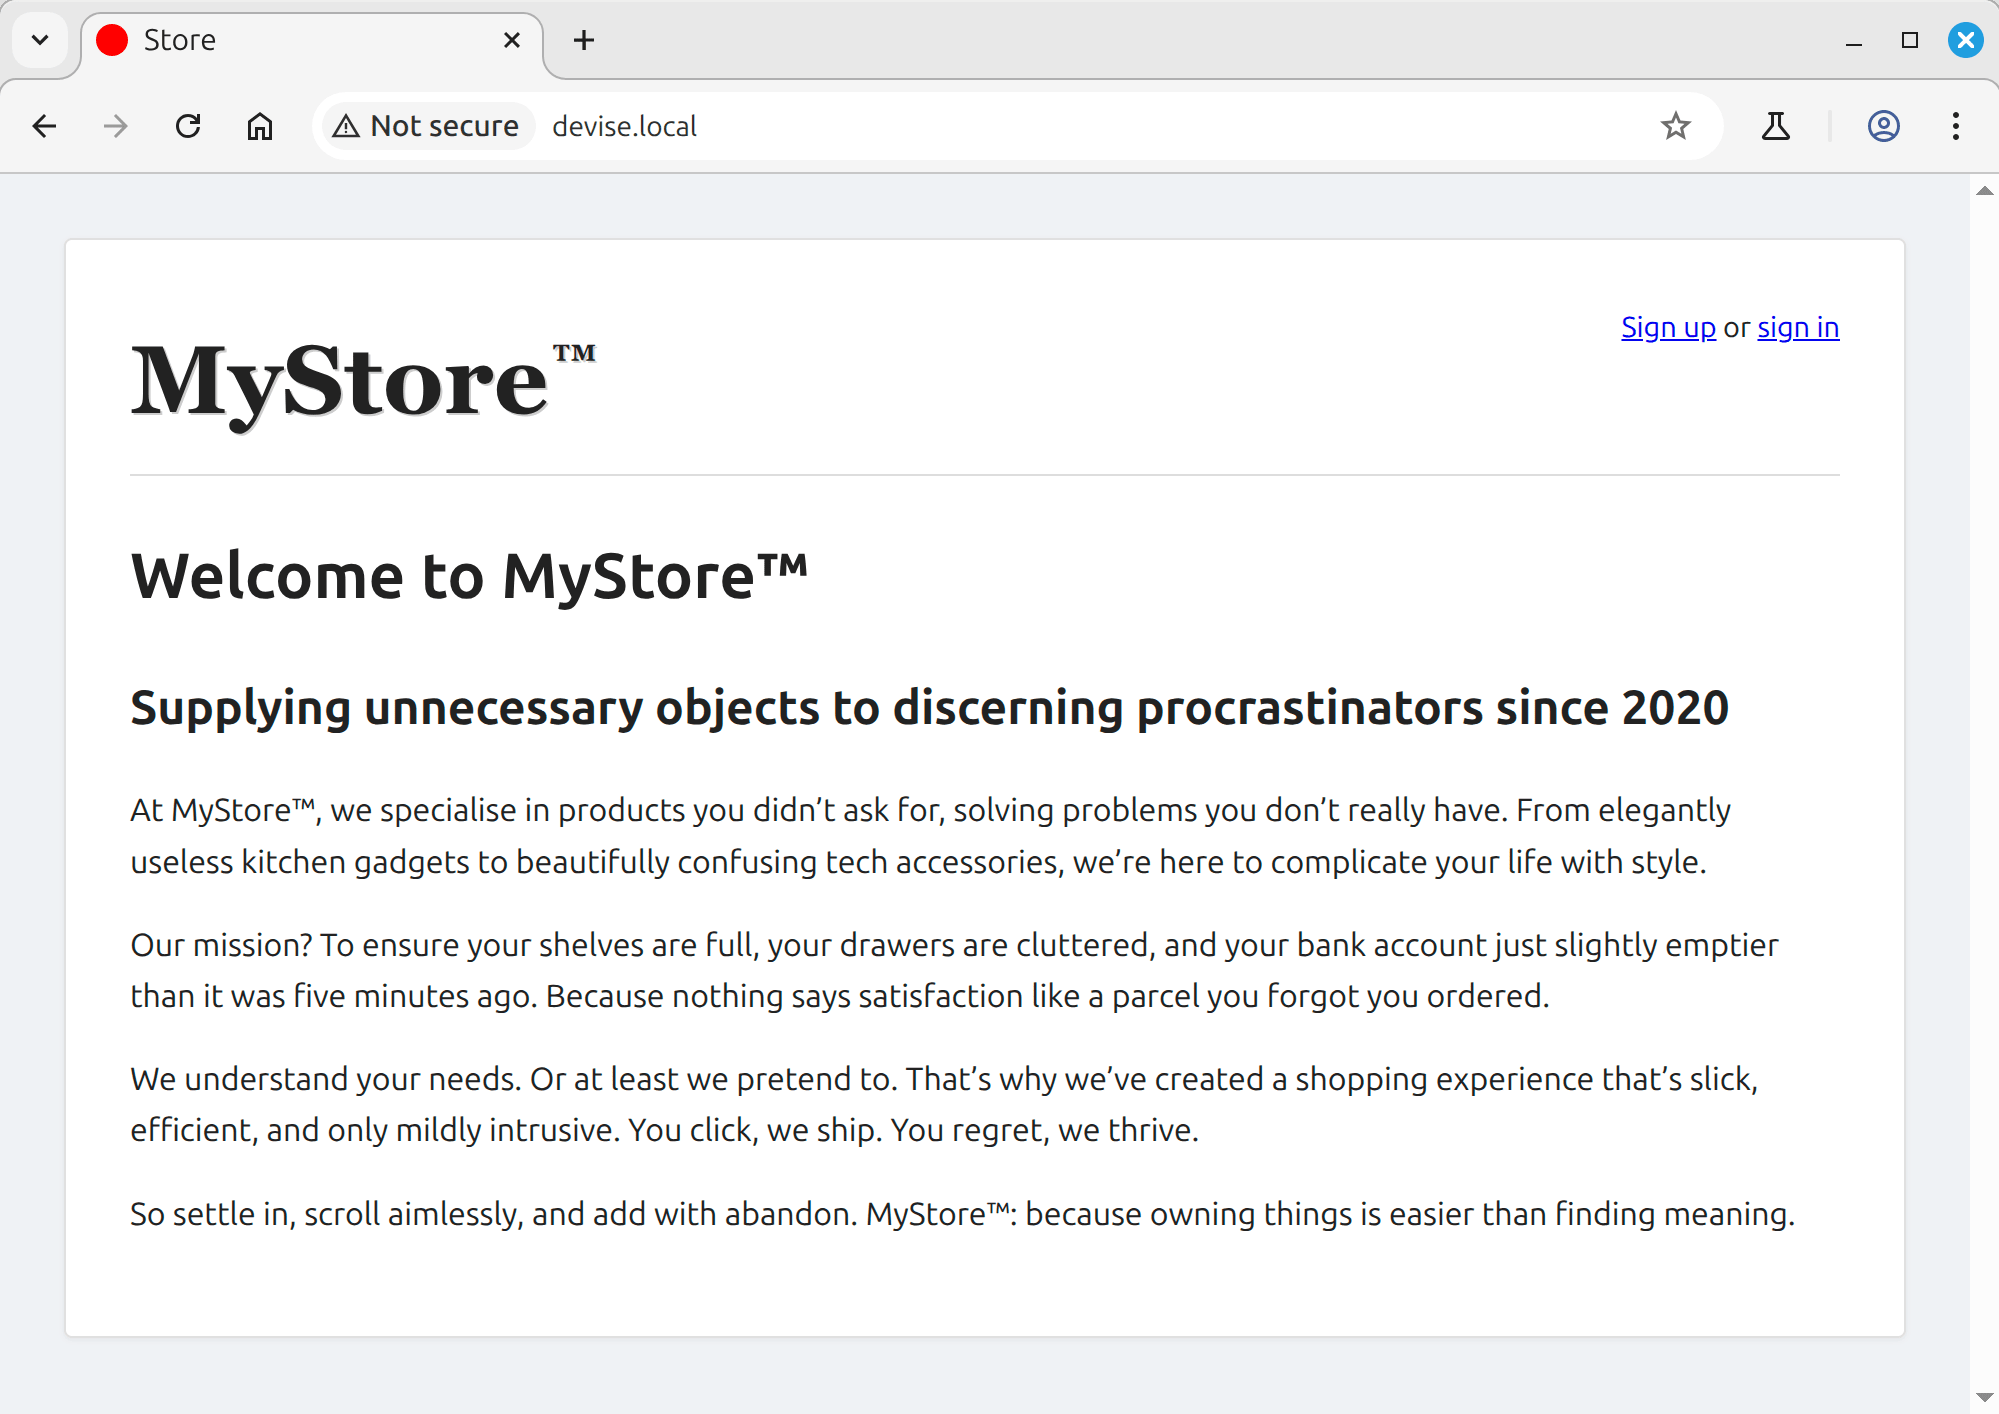
Congratulations—you’ve deployed a Rails 8 app with Capistrano and Passenger! 🎉
⚠️ If you don’t see your shiny new Passenger app in the browser, don’t panic—just keep reading. In the next step, I’llgive you some tips on how to debug what’s gone wrong.
Troubleshooting
Assuming you’ve followed all the steps correctly, your app should now be up and running. Luckily for me, when I opened the browser to check everything was working, I was greeted not by my shiny new Rails app, but by a wonderfully vague message: “Something went wrong.”
This actually turned out to be a good thing—because it gives me the chance to show you how to debug this kind of issue.
The error message means we’re not even reaching the Rails app—Passenger is failing before the app boots—so instead of checking the Rails production.log, we turn to the Apache error log (/var/log/apache2/error.log), where Passenger logs these kinds of startup issues.
Opening the Apache log:
sudo cat /var/log/apache2/error.log
I saw the following:
The application encountered the following error: You have already activated stringio 3.1.2, but your Gemfile requires stringio 3.1.7. Since stringio is a default gem, you can either remove your dependency on it or try updating to a newer version of bundler that supports stringio as a default gem. (Gem::LoadError)
A bit of Googling revealed that this is caused by Passenger preloading Bundler too eagerly, which can lead to conflicts with Ruby’s default gems such stringio.
To fix it, I opened up my Apache config:
sudo nano /etc/apache2/sites-available/devise.local.conf
Then inside the <VirtualHost> block I added PassengerPreloadBundler on:
<VirtualHost *:80>
  ServerName devise.local
  DocumentRoot /var/www/devise-demo/current/public
  PassengerPreloadBundler on

  <Directory /var/www/devise-demo/current/public>
    AllowOverride all
    Options -MultiViews
    Require all granted
  </Directory>

  <Location /phpmyadmin>
    PassengerEnabled off
  </Location>
</VirtualHost>
Then I restarted Apache:
sudo systemctl restart apache2
After that, I refreshed the browser—and boom, everything worked as expected.
Finishing Touches
At this point, you can access the app, but if you try to log in, or create a user, nothing happens. The app will just reload.
This only applies if you’re testing locally over plain HTTP (e.g. Using VirtualBox). If you’re deploying to a proper server with HTTPS configured, you shouldn’t run into this issue.
Looking in the browser’s console will give us a clue as to what is happening. You will see the following error:
Cookie "_store_session" has been rejected because a non-HTTPS cookie can't be set as "secure".
Rails is complaining that it’s trying to set a secure cookie—which only works over HTTPS—but your app is being served over plain HTTP.
Disabling SSL Enforcement (For Local Testing Only)
To resolve this, open config/environments/production.rb locally and disable SSL enforcement.
Set the following to false:
# Assume all access to the app is happening through a SSL-terminating reverse proxy.
config.assume_ssl = false

# Force all access to the app over SSL, use Strict-Transport-Security, and use secure cookies.
config.force_ssl = false
This tells Rails not to expect HTTPS and not to mark cookies as secure, allowing login to function normally over HTTP. You can read more about these options here and here.
Of course, in a real production environment, SSL should be enabled, and these settings should remain true to protect user data. We’re only disabling them here to get things working locally. If your app is already running over HTTPS, this won’t be an issue. But if you’re testing on something like VirtualBox without SSL, this workaround helps you move forward.
Logging “Fix” (Rails 7.1+)
As of Rails 7.1, the default logging behavior was changed to log to STDOUT rather than directly to a file like log/production.log. This is great for containerized or cloud environments where STDOUT is captured by a logging system—but it’s not especially helpful when running on a regular server with Passenger, where STDOUT often goes nowhere useful.
To restore the traditional file logging while keeping the new default, you can configure Rails to broadcast logs to both STDOUT and production.log:
In your local config/environments/production.rb, change:
config.logger = ActiveSupport::TaggedLogging.logger(STDOUT)
to:
config.logger = ActiveSupport::BroadcastLogger.new(
  ActiveSupport::TaggedLogging.new(ActiveSupport::Logger.new($stdout,              formatter: Logger::Formatter.new)),
  ActiveSupport::TaggedLogging.new(ActiveSupport::Logger.new("log/production.log", formatter: Logger::Formatter.new))
)
This gives you the best of both worlds: Rails continues to stream logs to STDOUT (in case you later want to capture them via systemd or similar), but also writes to production.log, so you can see what’s happening right now.
See also:
- Rails 7.1 logger changes
- Stack Overflow discussion on dual logging setup
Once you’ve made the necessary changes, commit them and push to your Git repository:
git add .
git commit -m "Fix logging and disable SSL for local testing"
git push origin mysql
Then, on your local machine, deploy the updated code to your server:
cap production deploy
Seeding the Database
Before testing everything out, let’s add some sample data to the production database. This ensures you have a user account to log in with.
First, hop onto the server and start the Rails console in production mode:
cd /var/www/devise-demo/current
RAILS_ENV=production bundle exec rake db:seed
Once done, head to your app in the browser and log in using one of the test accounts. If everything’s set up correctly, you should land on the homepage with access to the full app.
Running the Rails Console
If you need to peek into your live app to tweak some data, or debug a production issue directly, you can run the Rails console on the server in the same way that we ran that rake task.
Navigate to your app’s current directory (which always points to the latest release):
cd /var/www/devise-demo/current
Then start the console in production mode:
RAILS_ENV=production bundle exec rails console
You’re now inside your live app. Tread carefully!
Enabling SSL with Let’s Encrypt & Certbot
Once your app is live to the world, you’ll want to serve it securely over HTTPS. The recommended way to do this is with Let’s Encrypt, a free, automated, and open certificate authority.
To simplify the process, Let’s Encrypt recommends using Certbot, a tool maintained by the Electronic Frontier Foundation (EFF). Certbot can automatically request, install, and renew certificates, and even configure your web server for HTTPS.
The general process involves:
- Ensuring your domain points to your server.
- Confirming your web server (like Apache) is properly configured.
- Running Certbot, which will request a certificate and update your server configuration.
We won’t go into the details here, as they vary by operating system and web server setup. Instead, head over to the official resources and follow the steps tailored to your platform:
These guides will walk you through everything you need to secure your app with confidence.
Conclusion
Phew! This has turned into quite a long post!
We started out with a blank server and gradually provisioned it to serve a Rails app. From installing dependencies and setting up Capistrano, to managing secrets and configuring Apache with Passenger, we pulled in our app and got it running in the browser—production-ready and humming along.
Thanks so much for reading. If you have any questions, hit a snag, or just want to share your experience, I’d be happy to help out in the comments below.
Comments